# Demo 03 - A\*
If you have the A\* Pathfinding Project installed in your project you can extract the Demo\_03\_AStarPathfinding package.\
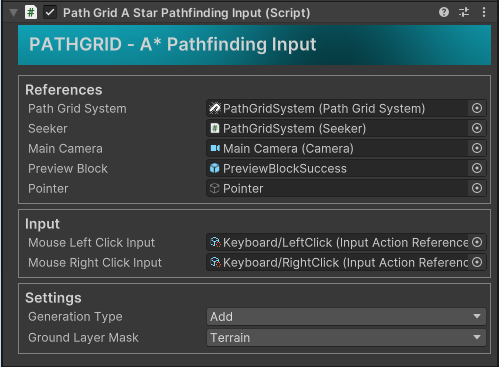
This demo showcases the use of the GridGraph of the A\* Pathfinding Project Asset. The input is handled by the script **PathGridAStarPathfindingInput**.
The PathGridAStarPathfindingInput requires a seeker component for finding a path.
## PathGridAStarPathfindingInput
What this script do:
1. When system is enabled, we wait for the users first click (clickCount).
2. On first click, we start creating a path from start position to current mouse grid position.
3. If path has been found, we instantiate preview tiles along the path.
4. When user clicks the second time, we clear the preview tiles and pass the vector path to the PathGridSystem.
## Pathfinder - Setup
When using the pathfinder, it makes sense to set the settings as follow:
* Connections: Four
* Heuristic: Manhattan
* Heuristic Scale: 100 (could be lower, this is something you would need to test for your setup)